Set the backup pump on a solid base beside the main pump, pipe it in rigid PVC to its own outlet or into the main line with a check valve on each pump, drill a small bleed hole below each check valve, and mount the backup float above the main pump's on level. Keep the controller and battery high and dry, then test with the main pump unplugged.
Plan the job before you cut pipe
Wayne warns that installing a backup can take several hours and that you need another way to remove water while the pumps are disconnected, so pick a dry spell and keep a utility pump or bucket handy. Start with the main pump: Wayne's ESP25n manual says to confirm it is in good working order and suggests replacing a questionable one with a 1/3 HP or 1/2 HP pump. A backup is meant for outages and failures, not for covering for a worn-out primary.
Clean silt and debris out of the pit and check that both pumps and their floats will fit without touching. Gather rigid PVC pipe, fittings, primer and cement, check valves, a hose clamp or wire ties for the float, and the battery. Basement Watchdog lists 1-1/2 in rigid PVC as what most of its systems need.
Separate outlet or shared pipe?
There are two ways to plumb a backup. A separate discharge line through the wall is the method Wayne calls preferred and Basement Watchdog calls best: the backup can run at full capacity if the main pump cannot keep up, and a bad check valve on one line cannot disable the other pump. It means drilling a second hole through the wall and sealing it afterwards.
The shared method ties the backup into the main pump's pipe with a Y fitting. Wayne requires a check valve on both pumps in that case so water from one does not recirculate down through the other into the pit. Either way, makers insist on rigid pipe: Wayne says flex hose is prohibited and rigid PVC or metal is required for permanent installation. Route the line to the wall by the shortest path with as few turns as possible, and slope the outdoor section downward so it does not freeze.
| Point | Separate discharge | Shared discharge with Y |
|---|---|---|
| Maker preference | Preferred by Wayne and Basement Watchdog | Allowed when a second outlet is not possible |
| Check valves | One per line | One on each pump, below the Y |
| Both pumps at once | Full flow from each | Share one pipe's capacity |
| Work involved | Second hole through the wall | Cut and re-plumb the existing pipe |
Figures: Wayne ESP25n operating instructions 600005W-001 J; Basement Watchdog product FAQs.
Setting the backup pump and its float
Stand the backup on a solid, level surface. Wayne and Basement Watchdog both say not to set it on loose sand, clay or earth; Basement Watchdog suggests bricks, blocks or a sump stand to lift it off the pit floor and away from debris. Wayne's method uses a 4 ft length of rigid PVC cemented to a threaded fitting on the pump outlet, with the check valve at the top of that section so the pump and valve come out easily for service.
The float decides when the backup takes over, so its height matters. It must start only after the main pump has had its chance. Wayne says to mount the ESP25n float at least 10 to 12 in above the pit bottom so it turns on only above the main pump's normal on level. Basement Watchdog mounts its float about 6 in above the main pump's activation level, vertical, with the bracket at the top, and on the side of the pipe away from the drain tile inlet.
Check valves and the air bleed hole
Any line with a check valve needs a way for trapped air to escape, or the pump can air lock and run without moving water. Basement Watchdog requires a 3/16 in hole in the pipe above its pump, drilled at a 45 degree angle toward the bottom of the pit so the spray stays inside, above the water line and below the check valve. Its manual allows a separate line with less than 15 ft of pipe to skip the check valve, but asks for one, fitted arrow up, on longer runs.
Do not seal the hole later. Water spraying from it while the pump runs is normal, and Basement Watchdog's maintenance checklist warns that blocking it may stop the backup from starting.
Placing the controller and battery
Keep the electronics dry and high. Wayne asks for the battery box within six feet of the sump and a separately fused 115 V GFCI outlet, in a clean, dry, ventilated spot, and warns that a wet battery box ruins the electronics. Basement Watchdog says never to put its controller on the floor, to use no extension cord, and to plug the controller into an outlet at least 4 ft above the floor through a surge protector of at least 1,500 joules. It also says not to put the primary pump on a surge protector.
Connect the battery cables positive to positive and negative to negative; Wayne warns reversed cables damage the control box and void the warranty. Batteries give off hydrogen while charging, so ventilation matters. The Wayne WSB1275 is the battery Wayne recommends for the ESP25n.
Testing the finished system
Unplug the main pump and fill the pit with water. The backup should start when the water reaches its float, empty the pit and keep running briefly on its timer; Wayne's controller runs about 20 to 25 seconds after the switch drops, and Basement Watchdog's about 25 seconds. Then plug the charger in, plug the main pump back in and confirm it handles the next fill on its own.
Give the battery a full day to charge before relying on it. After that, test monthly as Wayne's manual asks. If you would rather buy everything matched, a combination system such as the Basement Watchdog CITS-50 arrives with both pumps on one assembly.
- Unplug the main pump from its outlet.
- Fill the pit until the backup float lifts and the pump starts.
- Watch water leave the outdoor outlet.
- Plug in the charger and confirm the status lights.
- Plug in the main pump and watch it take the next cycle.
Common mistakes
- Mounting the backup float below the main pump's on level so it runs every cycle.
- Using flexible hose instead of rigid pipe for the backup discharge.
- Teeing into the main line with only one check valve.
- Setting the controller or battery on the basement floor.
- Forgetting to plug the main pump back in after testing.
Products that fit
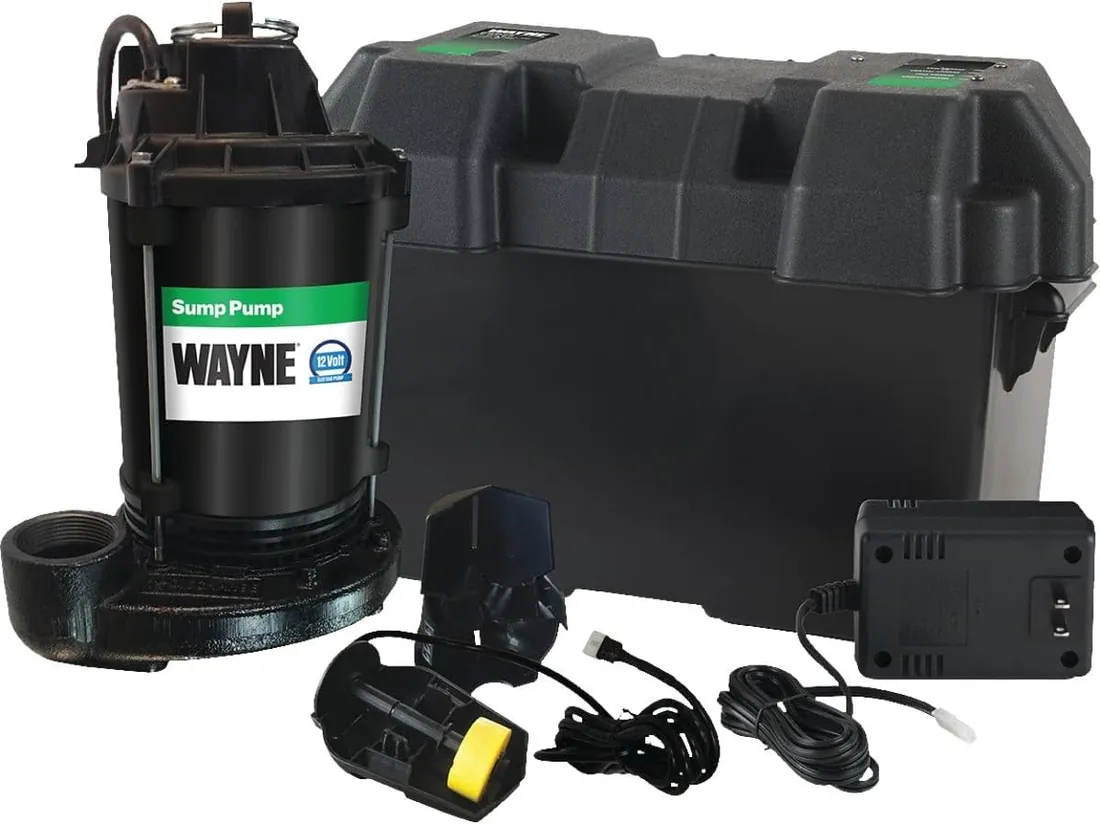
Wayne ESP25n Battery Backup Sump Pump
Backup pump with a cast iron volute and a 1-1/2 in outlet, fitted beside the main pump.
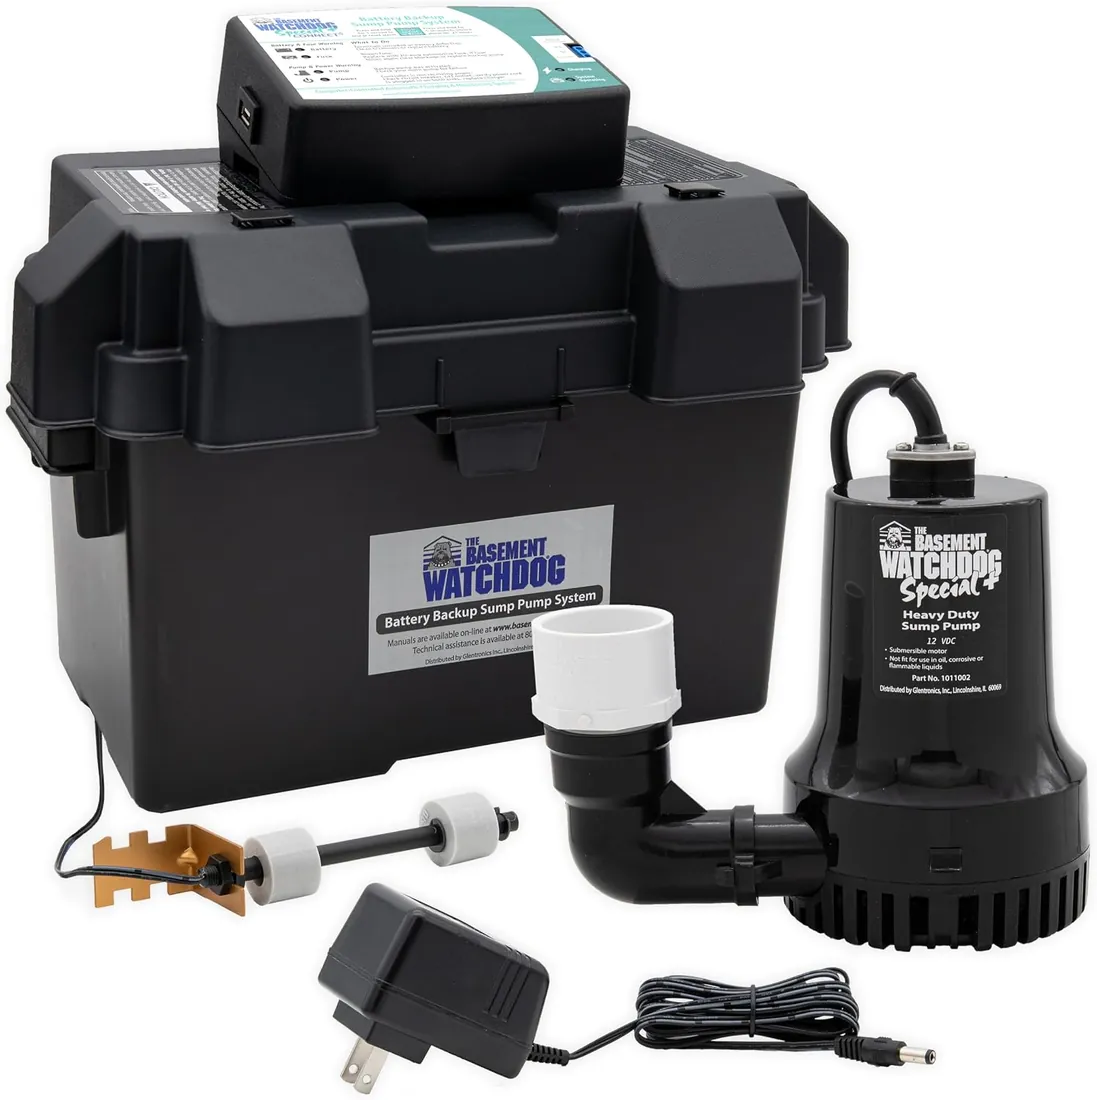
Basement Watchdog Special CONNECT (BWSP) Battery Backup Sump Pump
Backup system with a dual float and detailed installation methods in its manual.
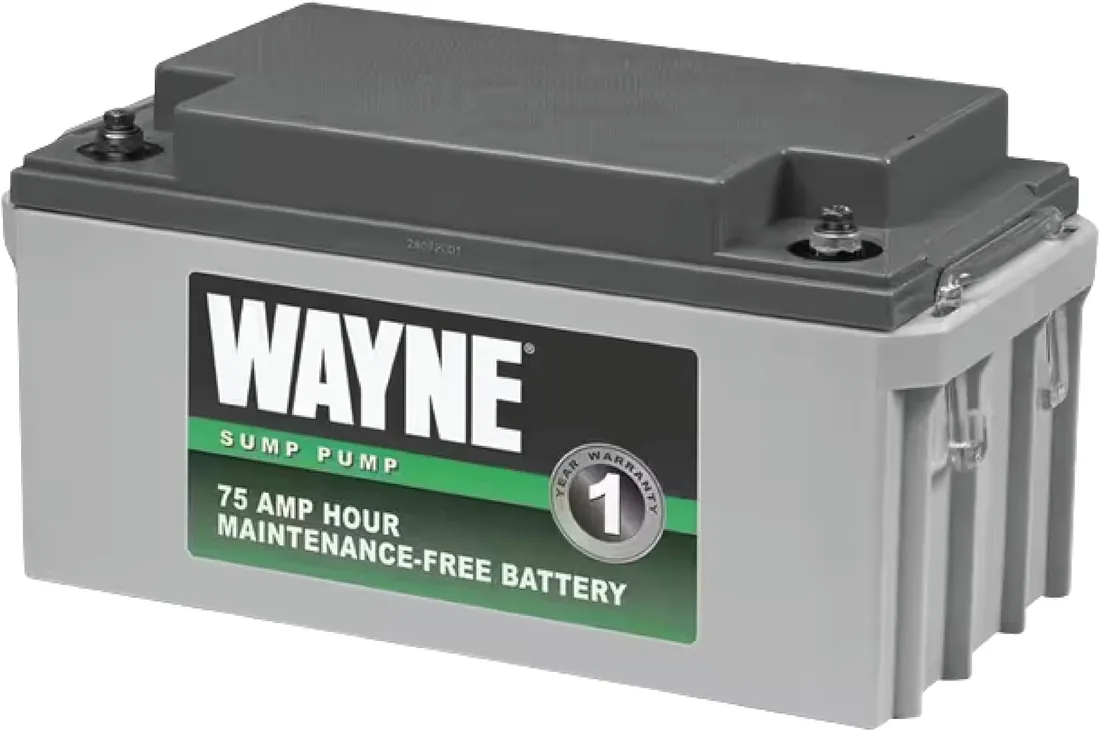
Wayne WSB1275 Standby Battery
Maintenance-free 12 V battery Wayne recommends for its backup pump.
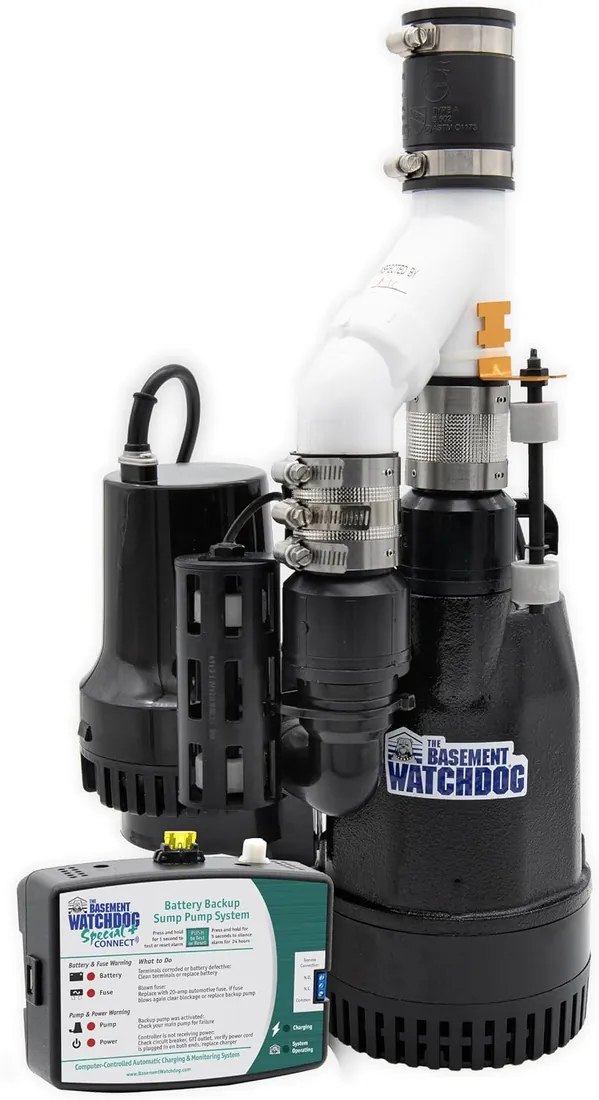
Basement Watchdog CITS-50 Combination Primary and Backup Sump Pump
Preassembled main and backup pump combination for a single installation.
Questions readers ask
Can a backup sump pump share the main discharge pipe?
Yes, with a Y fitting and a check valve on each pump. Wayne and Basement Watchdog both prefer a separate outlet, though, because each pump then has full capacity and a stuck valve on one line cannot stop the other.
How high should the backup float be?
Above the main pump's on level, so the backup runs only when the main pump fails or falls behind. Wayne says at least 10 to 12 in above the pit bottom; Basement Watchdog says about 6 in above the main pump's activation level.
Do I need a check valve on the backup pump?
Wayne requires one on both pumps. Basement Watchdog allows a short separate line under 15 ft without one but recommends it, and requires one on longer runs, always with a small air bleed hole below it.
Where should the backup battery go?
Off the floor, in its box, in a dry and ventilated spot near the pit and a GFCI outlet. Wayne asks for the box within six feet of the sump; Basement Watchdog wants its controller plugged in at least 4 ft above the floor.