A piggyback float switch has a plug with a socket on its back. Plug the pump cord into the back of the switch plug, then plug the switch into a grounded GFCI outlet. The switch passes power to the pump only when the float rises. Clamp the switch cord to the discharge pipe so the float moves freely, and check that its amp rating covers the pump.
How a piggyback float switch is wired
Nearly every plug-in float switch sold for sump pumps uses the piggyback design. Inside the switch cord, the hot conductor runs through a sealed switch in the float; the neutral and ground pass straight through. The cord ends in a plug with a matching outlet molded into its back. When the float tilts or rises, the switch closes and the outlet on the back goes live; when it drops, the outlet goes dead.
That means no wire nuts, no junction boxes and no opening of the pump. Red Lion's RL-SC manual describes exactly this for its tethered and vertical models: two cords, a piggyback plug on the switch cord, the pump cord plugged into it, and the combination plugged into a GFCI outlet. Superior's sump manual adds a useful check: once installed, the pump should stay off until the float rises. If it runs straight away, either the switch is stuck up or the pump has been plugged into the wall instead of into the piggyback plug.
- Unplug everything and confirm the outlet is grounded and GFCI protected.
- Plug the pump cord fully into the socket on the back of the switch plug.
- Plug the switch plug into the wall outlet.
- Pour water into the pit and watch the pump start and stop.
Match the switch rating to the pump
A piggyback switch carries the pump's full current through its own contacts, so its rating has to cover the pump's nameplate amps. Superior's 92010 vertical switch and 92005 tethered switch are both rated at 120 V and 10 A, and both are built by SJE Rhombus without mercury. That covers most 1/3 and 1/2 HP sump pumps on 115 V, but not every larger pump.
Look at the cord tag or nameplate. Maker figures range widely even at the same horsepower; the amps and watts guide lists them. If your pump draws more than the switch rating, choose a heavier switch or a control panel rather than risking burned contacts.
| Switch | Type | Rating | Cord |
|---|---|---|---|
| Superior 92010 | Piggyback vertical float | 120 V, 10 A | 10 ft |
| Superior 92005 | Piggyback tethered float | 120 V, 10 A | 25 ft |
| Basement Watchdog BWC1 | Dual float in a cage, with controller | 115 V AC | Not stated in the manual |
Figures: Superior Pump 92010 product page; Superior Pump 92005 product page; Basement Watchdog BWC1 dual float switch and controller manual.
Mounting a tethered float
A tethered float is clamped to the discharge pipe by its cord, with a short free length between the clamp and the float. The longer that tether, the wider the swing and the more water the pump removes per cycle. Zoeller publishes a guide for its tethered switches: a 5 in tether gives about 9 in of pumping range, 10 in gives about 13.5 in, and 22 in, its maximum, gives about 24 in. Zoeller adds that these are guides only and the range varies more as the tether gets longer.
Two rules matter more than the numbers. The float must not touch the pit wall, the pump or the inlet pipe anywhere in its swing, and the off position must still leave the pump intake covered. Zoeller recommends a pit at least 18 in across for variable-level floats; Superior asks for 14 in.
| Tether length | Pumping range |
|---|---|
| 5 in (minimum) | About 9 in |
| 10 in | About 13.5 in |
| 15 in | About 18 in |
| 20 in | About 22 in |
| 22 in (maximum) | About 24 in |
Figures: Zoeller installation instructions FM2676, 3-year warranty pumps.
Mounting vertical and dual floats
A vertical piggyback switch rides on a short rod clamped beside the pump, so it needs far less room than a tether. The switching points are fixed by the rod and stops; Superior's older manual notes that on its vertical switches the cut-out level is the only adjustment.
Basement Watchdog's BWC1 works differently: two float rings in a cage, so if the lower one fails the upper one still starts the pump, and a controller keeps the pump running for an extra 10 seconds after the floats drop. Its manual says to clamp the cage to the discharge pipe with the bottom of the cage at the height you want the pump to start, no lower than 3 in above the bottom of the pump and no higher than 1 in below the top of the pit. Mount it below the drain tile inlet so the tile is not flooded before the pump starts, and on the side of the pipe away from the tile so debris does not fall into it.
Hard-wiring a float switch
Diagrams that show a float switch wired into a junction box or a control panel are for pumps without plugs, or for larger systems. These are electrician jobs. Liberty's manual is explicit: manual pumps supplied without a plug must be controlled by an approved motor control panel, and a switch must not be wired in series with the pump power cord. Zoeller says the same in its own terms, that wiring should be done by a qualified licensed electrician and that the cord and strain relief must not be removed.
The exception is the factory-wired automatic pump. Zoeller's WD and WH models, for example, come with a float switch already wired into the pump circuit, and all the installer does is secure the float to the pipe at the right tether length. For an ordinary basement pump, if you need a different switching range, the plug-in route is the safe one: buy a non-automatic or piggyback-ready pump and add a piggyback switch.
Checking the installation
Fill the pit with a hose or buckets and watch at least several full cycles, as every maker manual asks. The pump should start at the expected level, empty the pit to the off level and stop. Then tidy the cords: Wayne asks for the pump cord to be tied to the discharge pipe so it cannot tangle with the float, and Basement Watchdog warns that a float cord wrapped around a power cord can cause false starts.
If the pump short cycles after a new switch goes in, the range is too narrow for your pit. Lengthen the tether within the maker's limits, or check the result with the basin cycle calculator.
Common mistakes
- Plugging the pump into the wall instead of into the back of the piggyback plug.
- Using a 10 A switch on a pump that draws more than 10 A.
- Wiring a switch in series with a pump cord instead of using a control panel.
- Mounting a tethered float where it can catch on the pit wall or inlet pipe.
- Setting the off level so low that the pump intake runs dry.
Products that fit
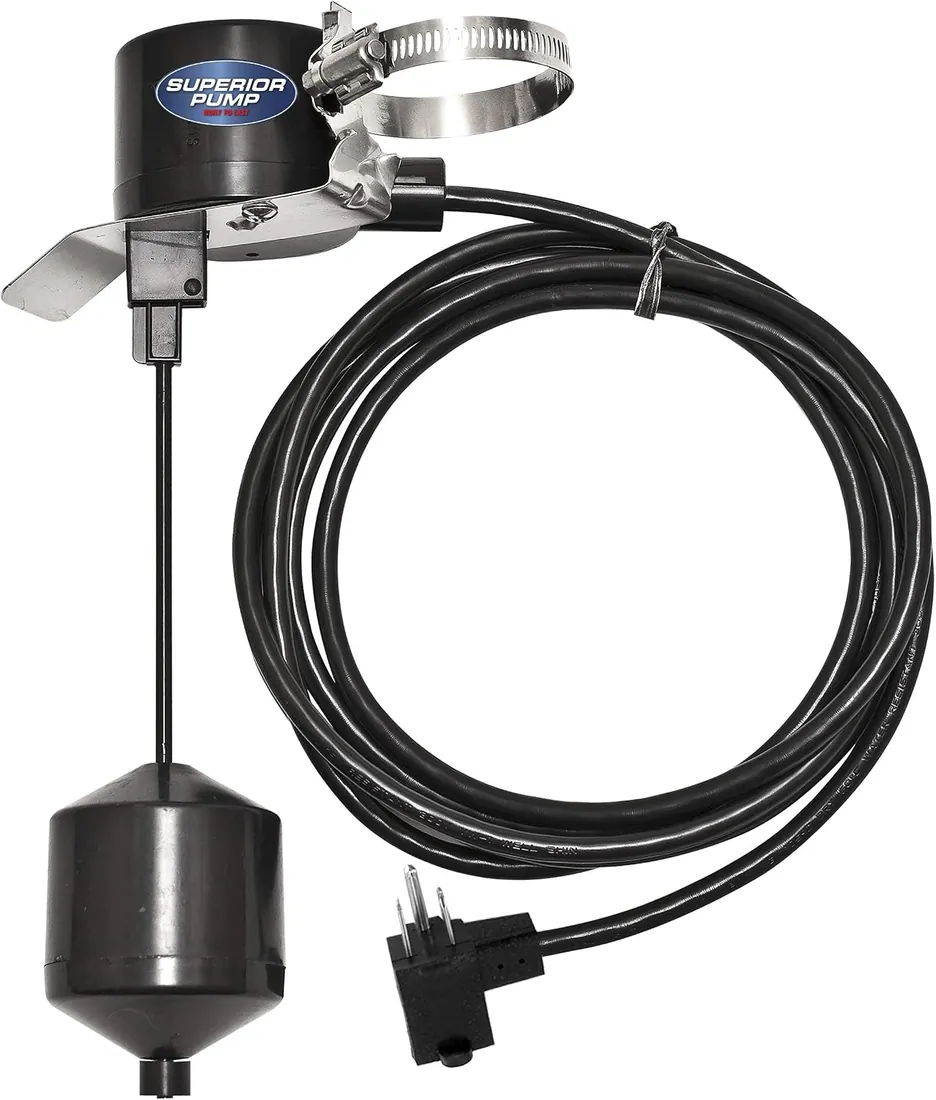
Superior Pump 92010 Vertical Float Switch
Piggyback vertical switch rated 120 V and 10 A with a 10 ft cord.
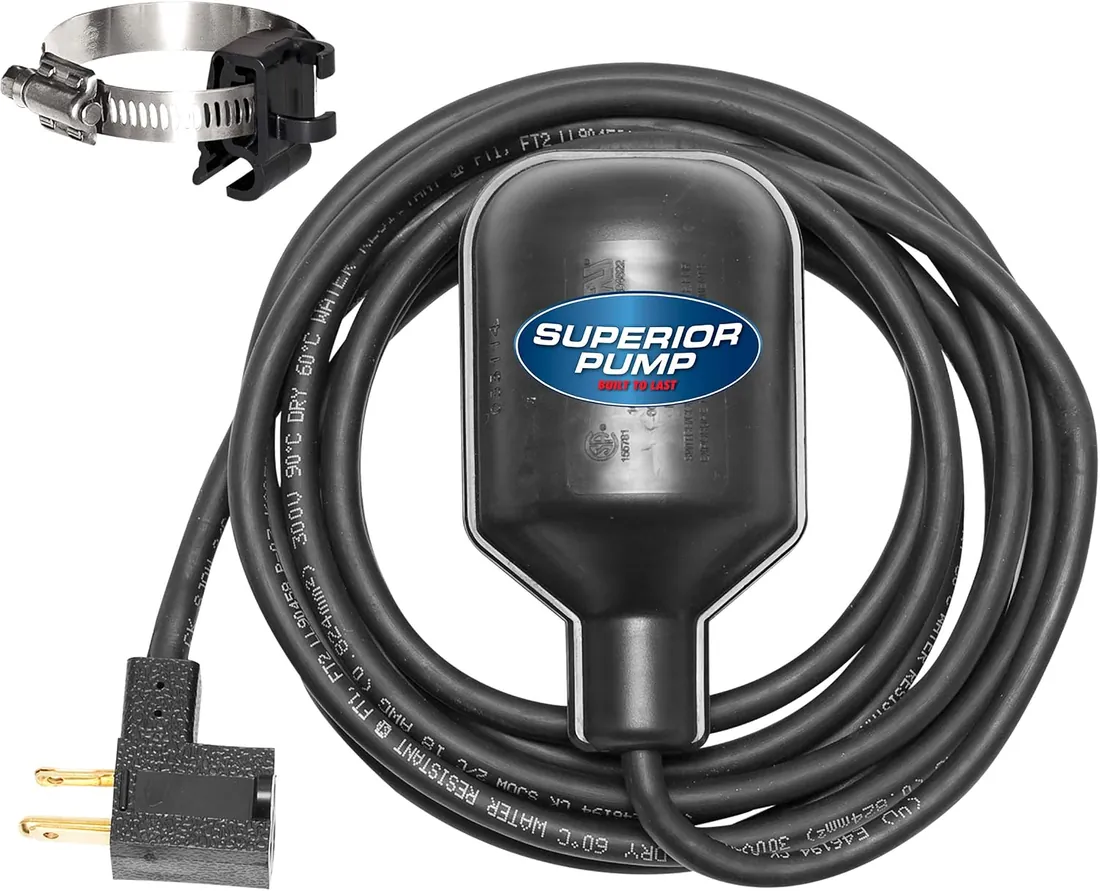
Superior Pump 92005 Tethered Float Switch (25 ft)
Piggyback tethered switch with a 25 ft cord for a wide pumping range.
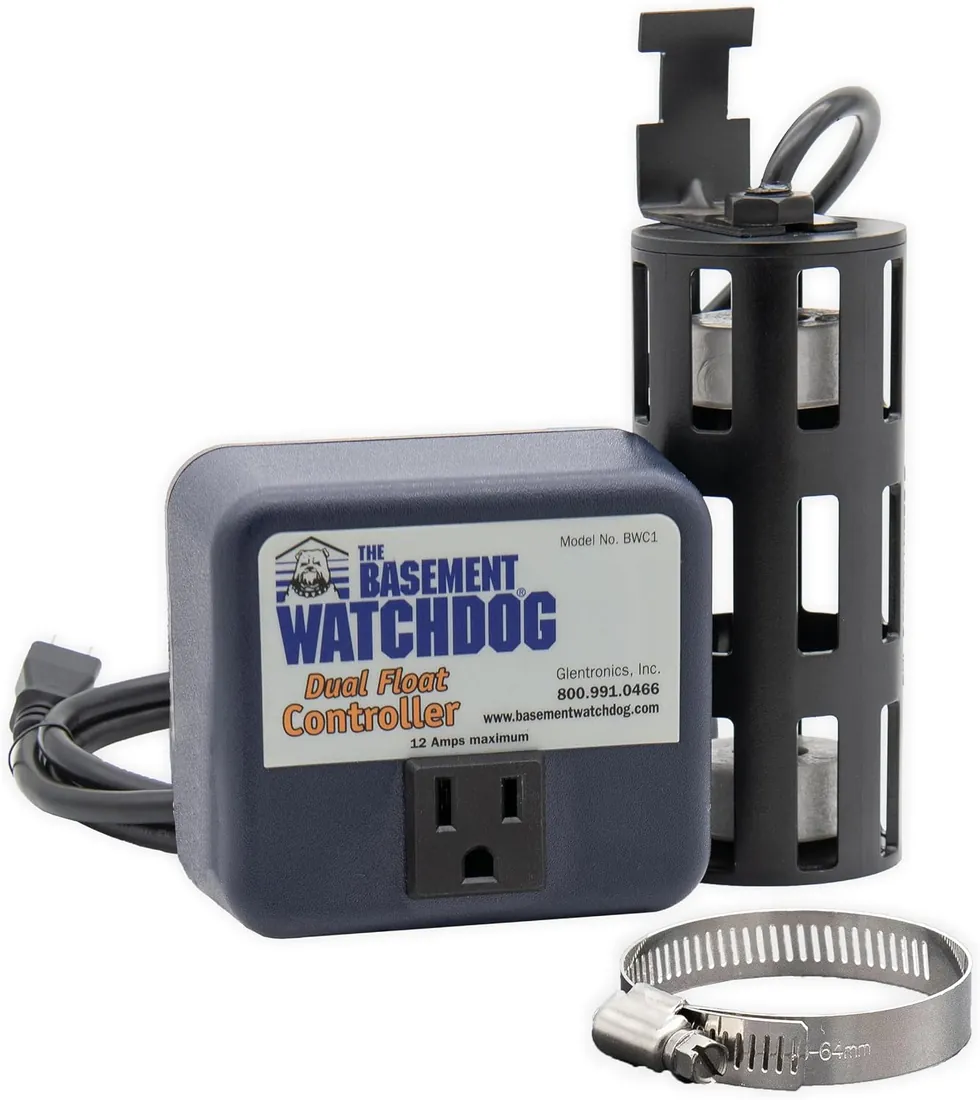
Basement Watchdog BWC1 Dual Float Switch
Caged dual float with a controller that adds a short run-on time.
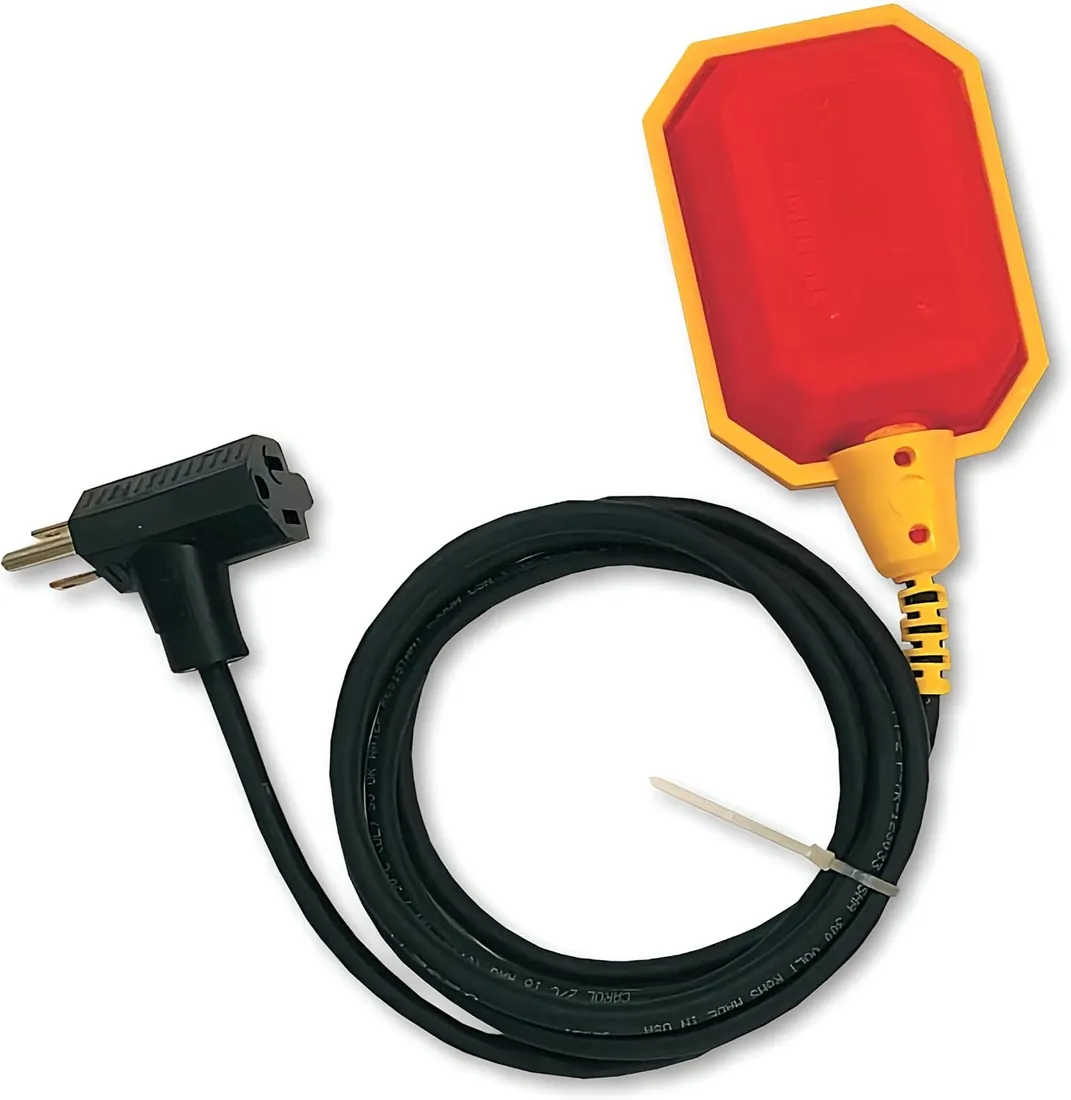
Sump Alarm SA-3100-10 Piggyback Tethered Float Switch
Another tethered piggyback option for pumps without a built-in switch.
Questions readers ask
Which plug goes in first on a piggyback float switch?
The pump plugs into the socket on the back of the switch plug, and the switch plug goes into the wall. Plugging the pump straight into the wall bypasses the switch and runs it continuously.
Can I add a float switch to a pump that already has one?
Usually only if the pump has a manual mode or its built-in switch can be bypassed per the maker. A second switch wired in front of a built-in one just adds another point of failure. Check the pump manual first.
How long should the tether be on a float switch?
Follow the switch maker's range. Zoeller's guide runs from 5 in, about 9 in of pumping range, to a 22 in maximum, about 24 in of range. Longer tethers give longer cycles but need a wider pit.
Do I need an electrician to wire a float switch?
Not for a plug-in piggyback switch on a corded pump. For pumps without plugs, junction boxes or control panels, yes: Liberty and Zoeller both direct that work to a qualified electrician.