Close the main valve and drain the pipes. Pipe the supply into the pump's suction through a check valve and union, and its discharge back to the house through a union and relief valve. Add a bypass so the house still has water if the pump is removed. Plug the pump into a grounded GFCI outlet, prime it and check for leaks.
Where the booster goes
A whole-house booster sits on the main supply line, after the meter on a city system or after the tank on a stored supply, and before the branches to the fixtures. Simer's manual for the 4075SS lists what decides the spot: near the main water line, accessible for service, within reach of a power outlet, where the controller's LED lights are visible, and where the plumbing is easy. The mount should be level, solid and protected from moisture and flooding, and nothing in the system should be allowed to freeze.
Check the rules first. Grundfos notes that in some places boosting directly from the city mains is prohibited, and local code may require a backflow device, a relief valve or a pressure regulator. If you are unsure whether you need a booster at all, the booster pump guide covers the pressure checks to do first.
Parts you need
The pumps ship without fittings. For the Simer units the parts list is short but specific: rigid pipe at least 1 in nominal, two unions, elbows, a check valve on the suction side, and a relief valve on the discharge able to pass full pump flow at 100 psi, unless local code sets a lower pressure. Simer also says a low-pressure safety cut-off switch should be installed in the discharge line and may be required by code. Grundfos's SCALA2 drawing adds isolating valves on both sides, a bypass valve, and a drip tray under the pump.
| Item | Simer 4075SS | Grundfos SCALA2 |
|---|---|---|
| Pipe size | At least 1 in nominal | Not stated in the section we hold |
| Connections | Rigid pipe only, no flexible hoses | Flexible hoses shown in the drawing |
| Check valve | On the suction line, arrow toward the pump | Expansion tank needed at the water heater if one is fitted |
| Relief valve | Passing full flow at 100 psi | Optional if the system cannot take 87 psi |
| Inlet pressure | 10 to 50 psi | Pressure-reducing valve if inlet can exceed 145 psi |
| Power | 115 V GFCI outlet, 6 ft cord | NEMA 5-15P plug, 6 ft cord |
Figures: Simer 4075SS-01 owner's manual 253PB560; Simer 4075SS booster pump data sheet; Grundfos SCALA2 installation and operating instructions.
Step-by-step installation
Simer's procedure is the clearest for a typical city supply. Shut off the main valve and open a low faucet to drain the lines, then close it. Cut the main and install two elbows pointing toward the pump. Pipe from the elbows to the pump, with a union in each line so the pump can come out without cutting pipe, an elbow on the discharge, and the check valve in the suction line. Seal threads with PTFE tape only; Simer warns that pipe joint compound damages the controller. Tighten pipe joints hand tight plus 1-1/2 turns, no more, because overtightening can crack the pump.
Turn the main on slowly and look for leaks. Open a faucet until a steady stream runs, which purges air and primes the pump. Only then plug it in: the pump will start, run briefly and stop once the system reaches its boosted pressure. Inspect every joint again under the higher pressure.
- Shut off the main and drain the lines.
- Install elbows in the main pointing to the pump.
- Pipe in with unions, check valve and relief valve.
- Open the main slowly and fix any leaks.
- Purge air at a faucet, then plug in the pump.
- Recheck all joints at boosted pressure.
Add a bypass
Both makers show a bypass: a line with a valve that connects the supply directly to the house side, around the pump, with isolating valves on the pump branch. Simer's drawing is labelled as the piping needed to remove the pump for repair without shutting down the household water. In normal running the bypass valve is closed and water passes through the pump. If the pump fails or needs service, open the bypass, close the pump valves, and the house runs at the original supply pressure.
A check valve in the bypass is worth considering, so boosted water does not flow backward around the pump when the bypass valve is not fully shut. The bypass also gives you a quick way to compare pressure with and without the booster.
Electrical connection and first setup
Simer's boosters plug into a 115 V, grounded, GFCI-protected outlet; the cord must not be modified, and if an extension is unavoidable it must be a grounded three-conductor 14GA cord kept out of water. The controller has power, pump-on and failure lights and a restart button. If it detects no water at start-up, it stops and lights the failure lamp; once the supply is confirmed, hold restart for five seconds.
The Grundfos SCALA2 needs priming before first start: Grundfos says to pour at least 0.45 gallons of water into the pump housing. It then starts on its own when plugged in. Its pressure setpoint is adjustable from 22 to 80 psi in 7 psi steps, from a factory 44 psi, and Grundfos recommends setting the built-in tank's precharge to about 70 percent of the setpoint: 30 psi for the 44 psi default.
After installation
If the pump starts and will not stop with all taps closed, Simer's chart points first to a leak creating flow: close the main with the pump unplugged and see whether the system holds pressure. Other causes are a pump not mounted level and debris holding open the controller's discharge valve. A pump that runs but delivers little usually means pipe that is too small or corroded, a clogged filter, or a supply that cannot keep up.
Grundfos adds a note on settings: a setpoint set too high can make the SCALA2 run for up to three minutes after a tap closes. The booster pump list compares the models if you are still choosing.
Common mistakes
- Using pipe joint compound on a Simer booster's ports.
- Overtightening fittings past hand tight plus 1-1/2 turns.
- Fitting the suction check valve with the arrow pointing away from the pump.
- Leaving out the relief valve on the discharge side.
- Plugging the pump in before the lines are full and air is purged.
Products that fit
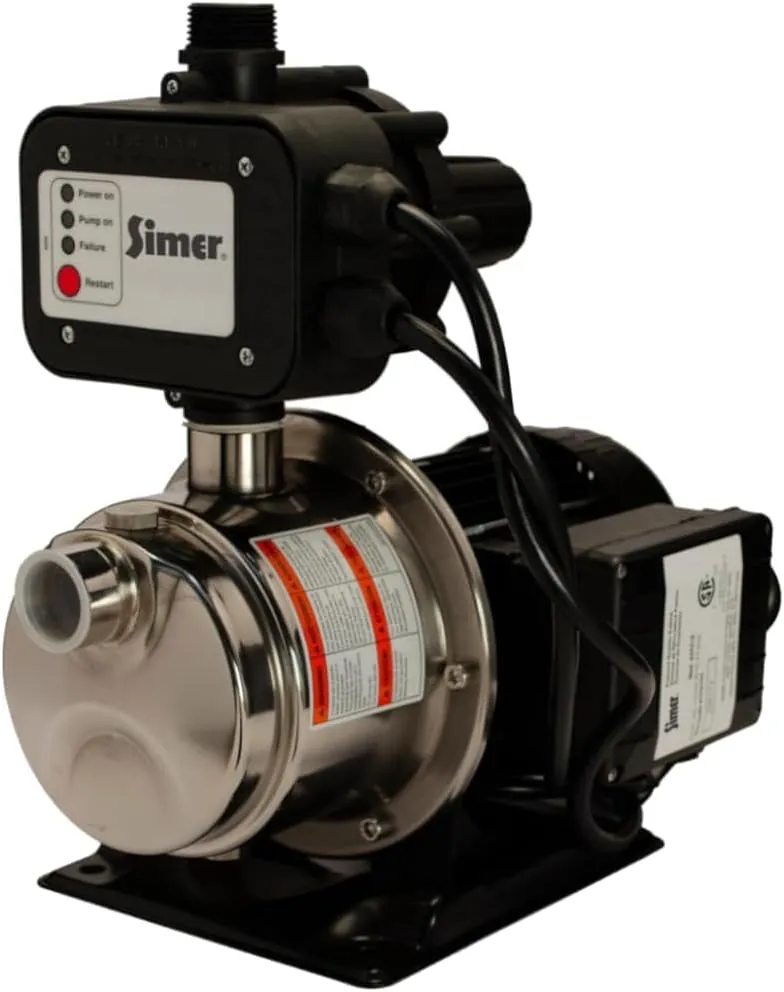
Simer 4075SS Pressure Booster Pump
3/4 HP plug-in booster whose manual sets out the full piping sequence.
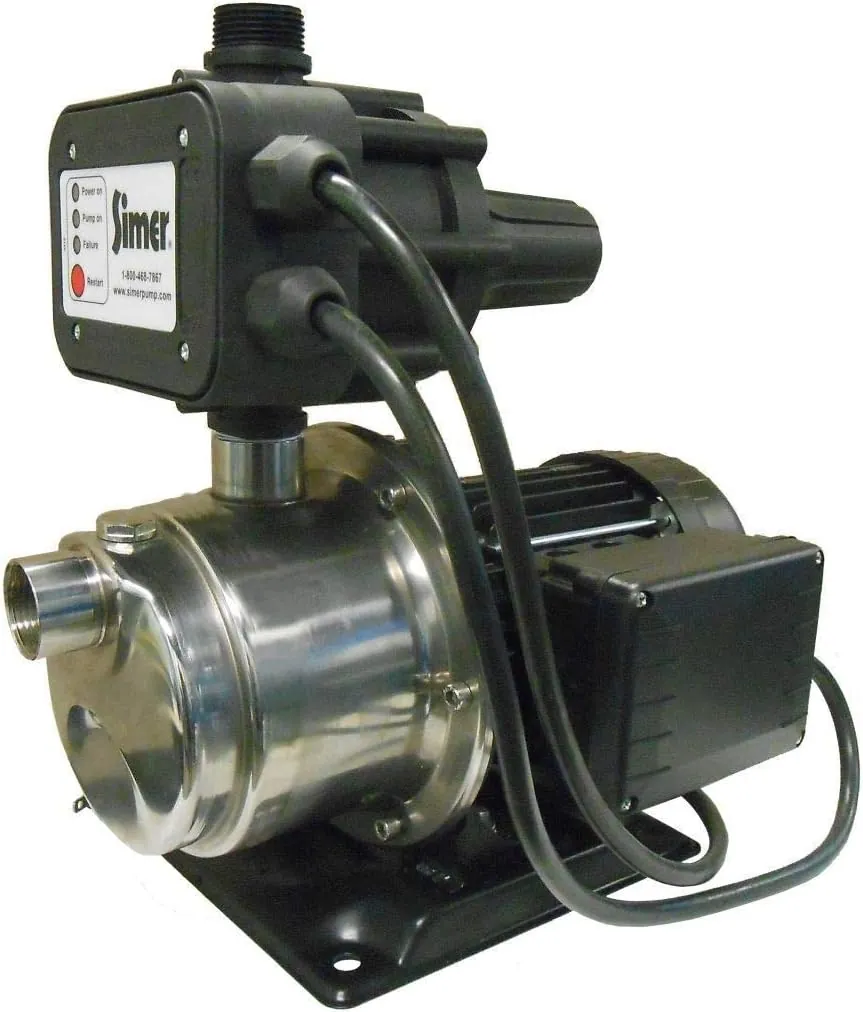
Simer 3075SS Pressure Booster Pump
Earlier Simer booster with the same 1 in connections and 115 V cord.
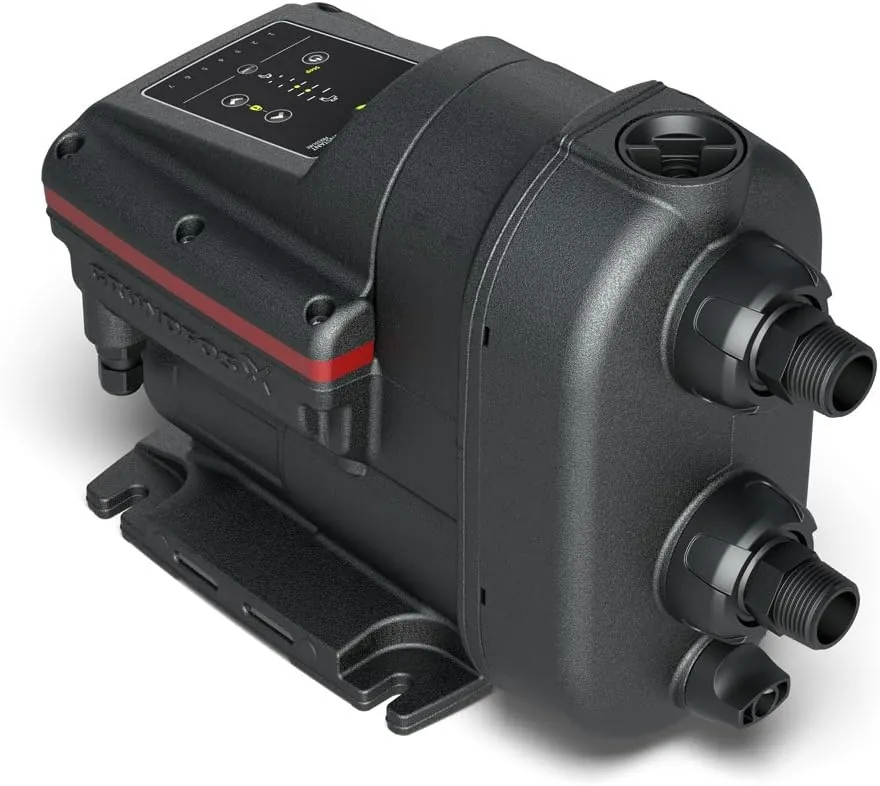
Grundfos SCALA2 3-45 Booster Pump
Variable-speed booster with built-in tank and a setpoint from 22 to 80 psi.
Questions readers ask
Where should a booster pump be installed?
On the main supply line after the meter or storage tank and before the house branches, close to the water source, level, accessible and protected from freezing and flooding. Simer also wants the controller lights visible and the outlet within cord reach.
Does a booster pump need a check valve?
Simer requires one on the suction line with the arrow pointing toward the pump. Grundfos notes that if a non-return valve is fitted, the system needs an expansion tank at the water heater, because heated water can no longer expand back into the main.
Can I install a booster pump myself?
The plumbing is straightforward for someone comfortable cutting and joining supply pipe, and the Simer units plug into a GFCI outlet. Check local code first; some areas restrict boosting from city mains or require backflow devices.
What pressure should I set a booster pump to?
Grundfos recommends its 44 psi factory setting for most homes. If you raise it, keep the gain over inlet pressure within 51 psi, and set the tank precharge to about 70 percent of the new setpoint.