Clean the basin and set the pump on a solid, level base with the float clear of the walls and the inlet. Run rigid PVC from the pump through a check valve and union, drill the small anti-airlock hole below the valve, and carry the water well away from the foundation. Plug into a grounded GFCI outlet, fill the pit and watch several full cycles.
Before you start: basin, outlet and pump choice
Check the basin first, because it limits which switch works. Wayne draws its vertical-float pumps in a basin at least 11 in across and its tether-float models in one at least 14 in across, both 22 in deep. Liberty recommends a 14 in basin for ordinary groundwater and an 18 in depth, and Zoeller asks for 18 in or wider when a tethered float is used.
Then look at power. Every maker wants a grounded outlet the pump cord can reach without an extension cord, and Wayne and Superior want it protected by a GFCI. Liberty asks for the outlet in a below-grade space to sit at least 4 ft above the floor, so a flooded basement does not reach it. A dedicated circuit, sized to the nameplate current, keeps a freezer or dehumidifier from tripping the pump's breaker.
If you have not chosen a pump yet, size it to your lift with the sump pump sizing calculator before you buy.
| Maker | Minimum basin | Notes |
|---|---|---|
| Wayne, vertical float | 11 in across, 22 in deep | At least 1 in from switch to wall |
| Wayne, tether float | 14 in across, 22 in deep | Tether switch replaced every two years |
| Liberty | 14 in across, 18 in deep | 10 in allowed for vertical magnetic float models |
| Zoeller | 18 in across | For tethered variable-level floats |
| Superior | 14 in across | Float must swing freely |
Figures: Wayne submersible sump pump manual 600002W-001 J, typical installation; Liberty Pumps installation manual 7035000R; Zoeller installation instructions FM2676; Superior Pump submersible sump pump owner's manual (10/08).
Set the pump on a solid base
Clear sludge, stones and old fittings out of the pit. Wayne tells installers never to stand a pump on clay, earth, gravel or sand, and to put a brick or block under it if the basin has no solid bottom. Liberty sells a molded platform for its 250, 280 and 290 series that lifts the pump 2-1/2 in, and Zoeller offers a pump stand for the same reason. Grit drawn into the impeller is a leading cause of early failure.
Turn the pump so the switch faces away from the drain-tile inlet. Water pouring onto a float pushes it around and can make it chatter. Then check every direction: the float must move through its whole travel without touching the wall, the inlet pipe or a backup pump.
Pipe the discharge: rigid pipe, union and check valve
Thread a PVC adapter into the pump outlet. Most residential sump pumps, including the Zoeller M53 and Liberty's 250 series, have a 1-1/2 in threaded discharge; never step the pipe down below that size. Liberty asks you to hand-tighten the first fitting, since over-tightening can crack the pump housing. Wayne requires rigid PVC for a permanent installation because a pump on flexible hose moves, and a moving pump upsets its switch.
Add a union or rubber coupling just above the basin so the pump can come out without cutting pipe, then the check valve with its arrow pointing up. Wayne and Liberty require a check valve; Zoeller recommends one. Below the check valve, drill the anti-airlock hole: Zoeller specifies about 3/16 in, level with the top of the pump and below the cover, while Liberty specifies 1/8 in just above the outlet. Use the size your pump's maker gives.
- Thread a male adapter into the pump outlet with PTFE tape, hand tight.
- Run rigid PVC up to just above the basin rim.
- Fit a union or rubber coupling for easy removal.
- Add the check valve, arrow pointing away from the pump.
- Drill the anti-airlock hole in the pipe below the valve.
- Tie the power cord to the pipe, clear of the float.
Carry the water away from the house
Route the line through the rim joist or wall with as few elbows as practical, since each fitting adds friction that the pump must overcome. Wayne asks for the discharge to end at least 3 ft from the foundation and, where it can freeze, to slope downhill so the pipe drains after every cycle. Water dumped beside the wall soaks straight back into the drain tile and the pump runs again.
Check local rules before tying into a sewer or storm line. Many towns forbid sump water in the sanitary sewer. Liberty notes that long runs may need a larger pipe to keep friction down, and suggests asking a qualified person if you are unsure about the size.
Power up and watch the first cycles
Plug the pump, or its piggyback switch plug, into the GFCI outlet. Superior's test is a good one: with the float down, the pump should stay silent. If it runs, the switch is stuck up or the pump is plugged straight into the wall instead of through the switch plug.
Fill the pit with a hose or buckets. The pump should start at the on level and stop at the off level the maker publishes, about 9 in and 4 in on Wayne's vertical models. Watch for a thin spray from the anti-airlock hole, leaks at joints and the float touching anything. Wayne recommends watching several cycles after any installation, and Zoeller asks owners to repeat the check at least every three months.
For most basements a cast iron pump such as the Zoeller M53 or the coated-steel Wayne CDU790 fits these steps directly. Where flooding would be costly, plan room in the pit for a backup from the battery backup list.
Common mistakes
- Setting the pump straight on gravel or dirt at the bottom of the pit.
- Using corrugated or flexible hose for a permanent discharge.
- Skipping the anti-airlock hole below the check valve.
- Powering the pump through an extension cord or surge strip.
- Ending the discharge right beside the foundation wall.
- Leaving the basin open without a lid and gasket.
Products that fit
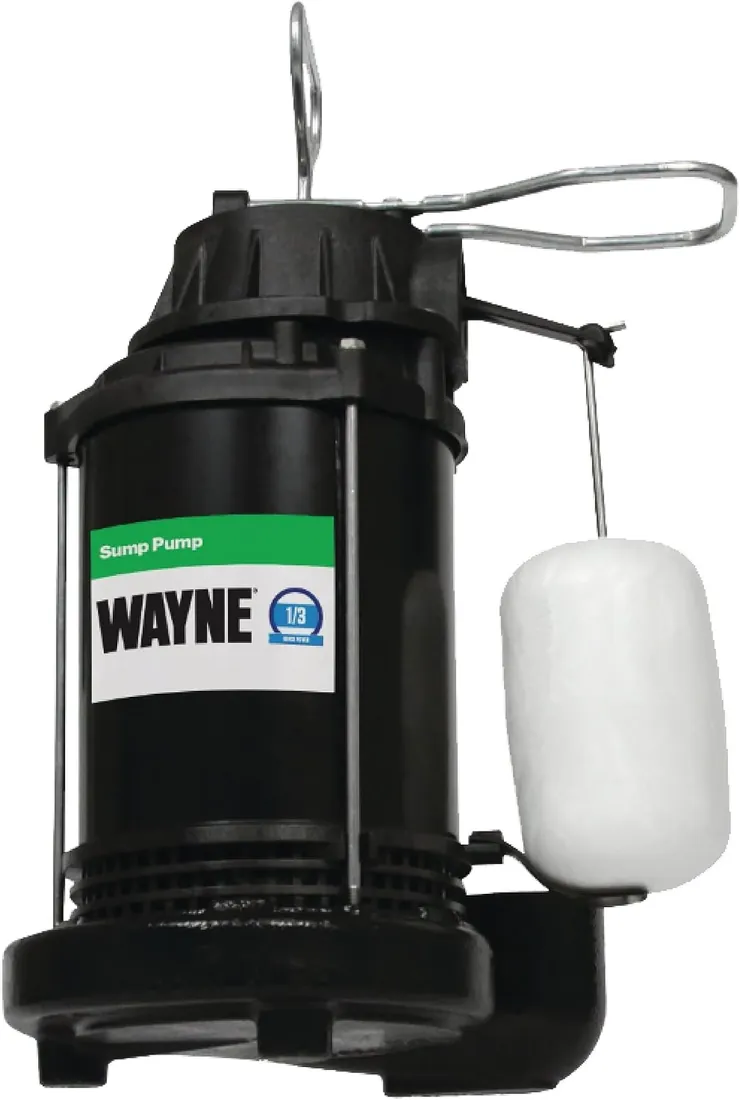
Wayne CDU790 Sump Pump
Vertical-float pump that fits inside Wayne's 11 in minimum basin.
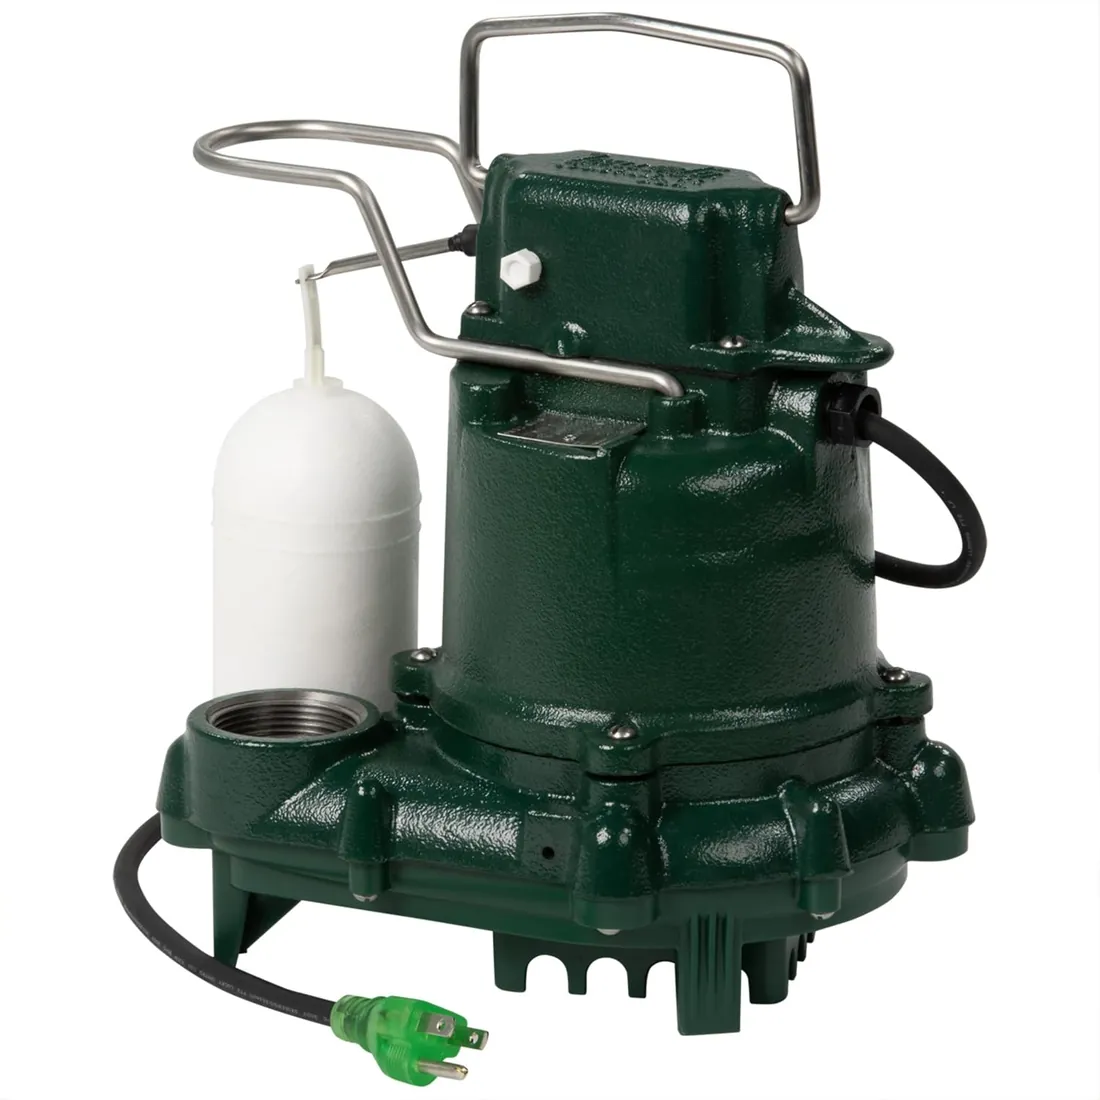
Zoeller M53 Mighty-Mate Sump Pump
Compact cast iron pump with a 1-1/2 in NPT discharge and built-in float.
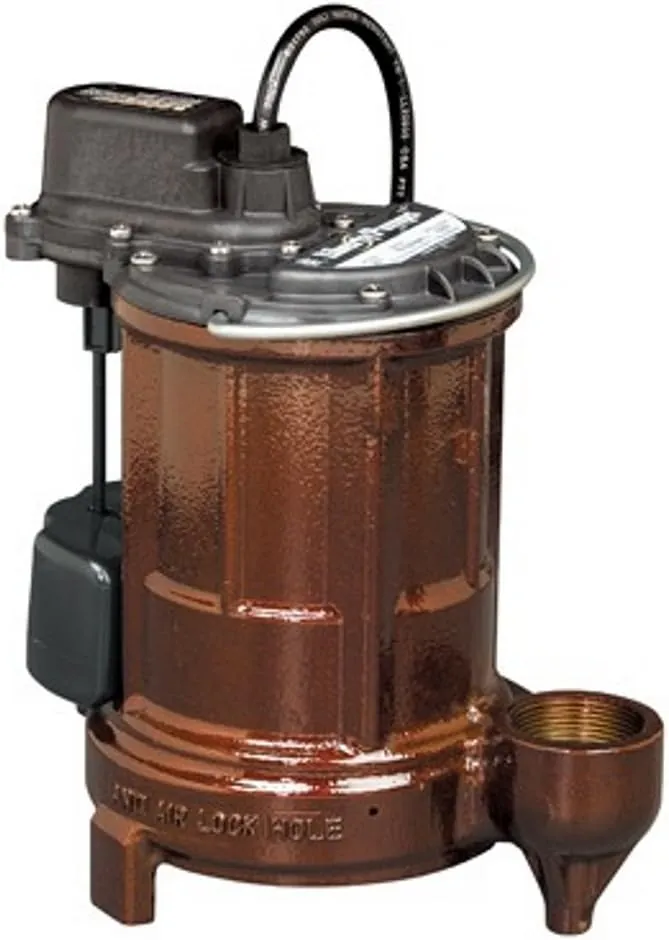
Liberty Pumps 257 Sump Pump
Cast iron pump Liberty allows in a 10 in pit with its vertical float.
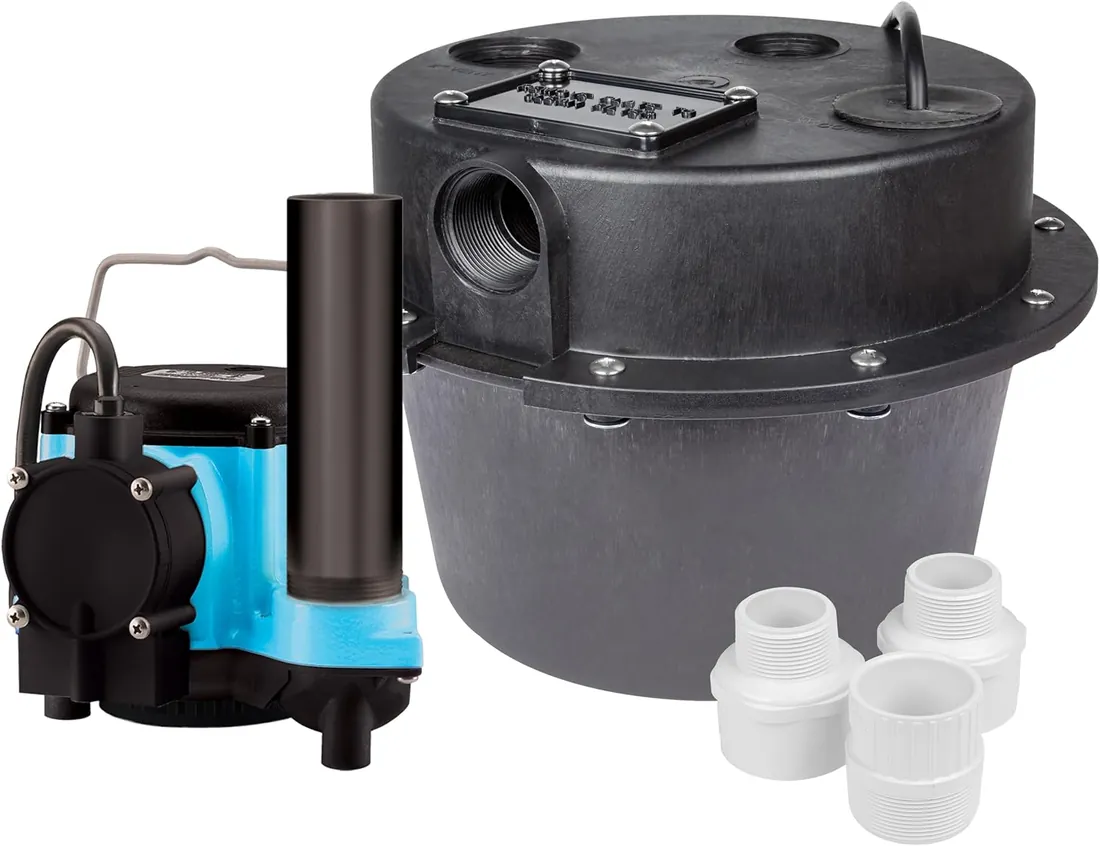
Little Giant WRSC-6 Compact Sump Pump Basin System
Pump and basin sold together for digging a new pit.
Questions readers ask
Do I need a check valve on a sump pump?
Wayne and Liberty require one, and Zoeller recommends one for sump use. It stops the water in the pipe falling back into the pit after each cycle. Pair it with the anti-airlock hole below it so the pump cannot trap air.
Can I use flexible hose for sump pump discharge?
Not for a permanent installation. Wayne requires rigid PVC because a pump on flexible hose can move and jam its float, and Superior says corrugated hose is for temporary use only.
Does a sump pump need a GFCI outlet?
Wayne requires the receptacle to be GFCI protected and Superior strongly recommends it. Use a grounded outlet within reach of the cord, never an extension cord, and have an electrician add one if the outlet is too far away.
How far from the house should sump water discharge?
Wayne asks for at least 3 ft from the foundation, sloping downhill where the line can freeze. Farther is better if your yard allows, so the water does not soak back into the drain tile.